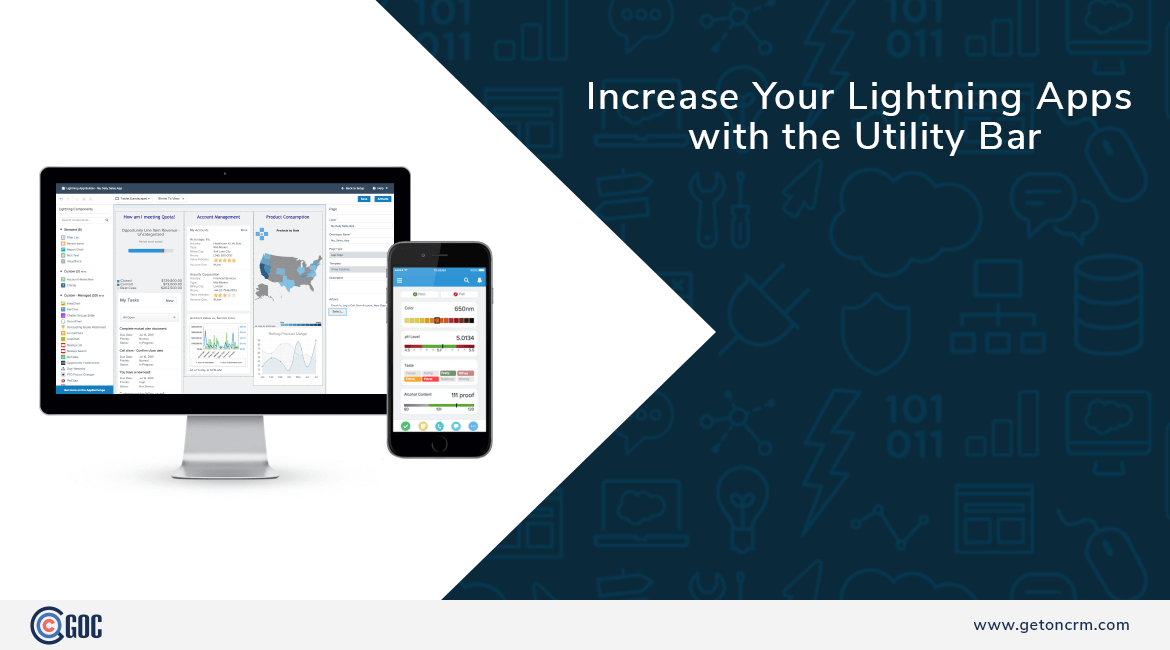
The utility bar provides your users quick access to common productivity tools, like Recent Items and Notes. It appears as a fixed footer that users can access to open utilities in docked panels. Under the covers, utilities harness the power of Lightning components. You can add a utility bar to any Lightning app, including standard and console apps. Before, you could only add or customize a utility bar using the API. This feature is new in Lightning Experience.
Utility bar may sound familiar as it combines the best features from home page components in Salesforce Classic and the footer in Salesforce Classic console apps.
You can select which Lightning components you want to include to a utility bar and specify their properties. You can specify how big the utility panel is and what label and icon you want to display in the utility bar. To add a utility bar to your Lightning app follow these steps.
Search for App Manager in Salesforce search bar.

Select app that you want to modify and click on Edit.

Select Utility bar as highlighted here and you can select component that you want to include. You can also select Visualforce page, custom and custom-managed components.

If you are setting up a Lightning console app, include the History utility to show users their recently visited tabs. The History utility works in Lightning console apps only.
Here’s a utility bar configured with a Visualforce page and Recent Items.

Here’s what the utility bar looks like in your app.

It is recommended that you don’t add no more than 10 utilities to a utility bar. And keep the labels for your utilities short and sweet so that your users can quickly find what they need.


