Pardot forms and form handlers are not the same. Pardot forms are built and managed completely in Pardot. Form handlers, on the other hand, connect Pardot to your external forms so you can channel prospect information into Pardot. Look into the below features to decide which type of form you want to use.
| Feature | Pardot Form | Form Handler |
|---|---|---|
| Data redundancy prevention in Pardot | Yes | Yes |
| Email address validation | Yes | Yes |
| Progressive profiling | Yes | – |
| Bot protection | Yes | – |
| Third-party form integration | – | Yes |
| Maintaining current lead flow | – | Yes |
| Salesforce Web-to-Lead forms integration | Yes | Yes |
| Custom front-end editing | – | Yes |
| Form views and error data | Yes | – |
| Field-level change audits for prospects | Yes | Yes |
| Pardot landing page integration | Yes | – |
| Base automation rules on form views | Yes | – |
| Base automation rules on form completions | Yes | Yes |
| Sends Pardot autoresponder emails | Yes | Yes |
| Success page redirection | Yes | Yes |
| Displays Pardot Thank You content after form submission | Yes | – |
Create a New Pardot Form:
To create a new Pardot form, you need to have Pardot Administrator or Marketing Role user permission. Please follow the below steps:
- Navigate to Marketing | Forms | New Form.

- Step 1: Name
- Name the form.
- Select a folder.
- Select a campaign.
- Click Next.

- Step 2: FieldsTo add new fields, click + Add New Field.
- Use the tool icons to edit, rearrange, and delete fields.
- Click Next.

- Step 3: Look and Feel
Choose a layout template.- Enter the text for the submit button.
- On the Above Form tab, enter the content that appears above your form fields.
- On the Below Form tab, enter the content that appears below your form fields.
- On the Styles tab, customize the look and feel of your form’s elements.
- On the Advanced tab, configure how your form behaves, how it tracks prospect activities, and how it protects against spam bots.
- Click Next.

- Step 4: Completion Actions
On the Thank You Content tab, enter the content that displays after the prospect submits the form.- On the Thank You Code tab, enter code that you want to run after form submission.
- Add completion actions.
- Click Next

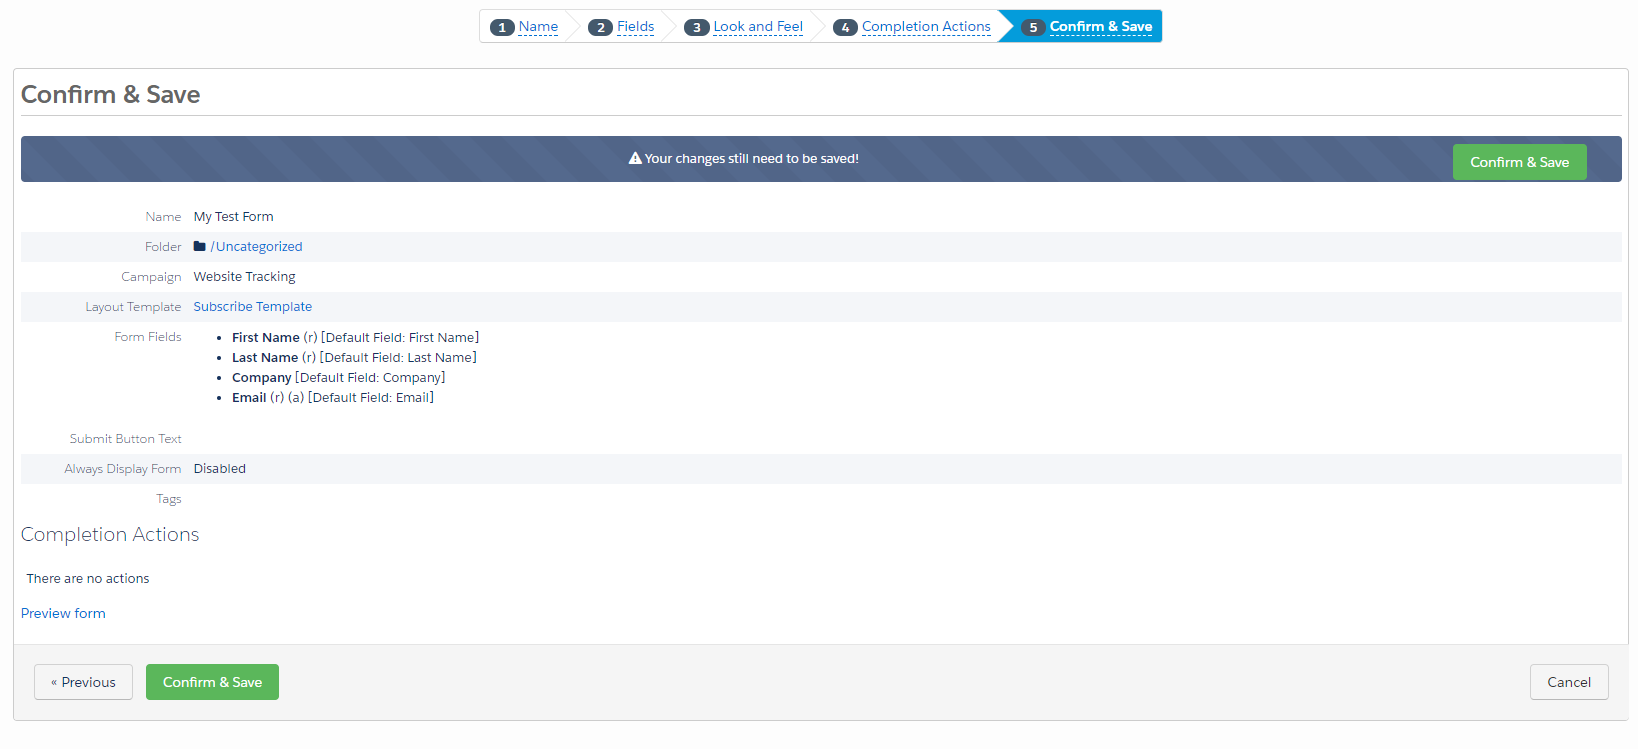
- Confirm and save your form.
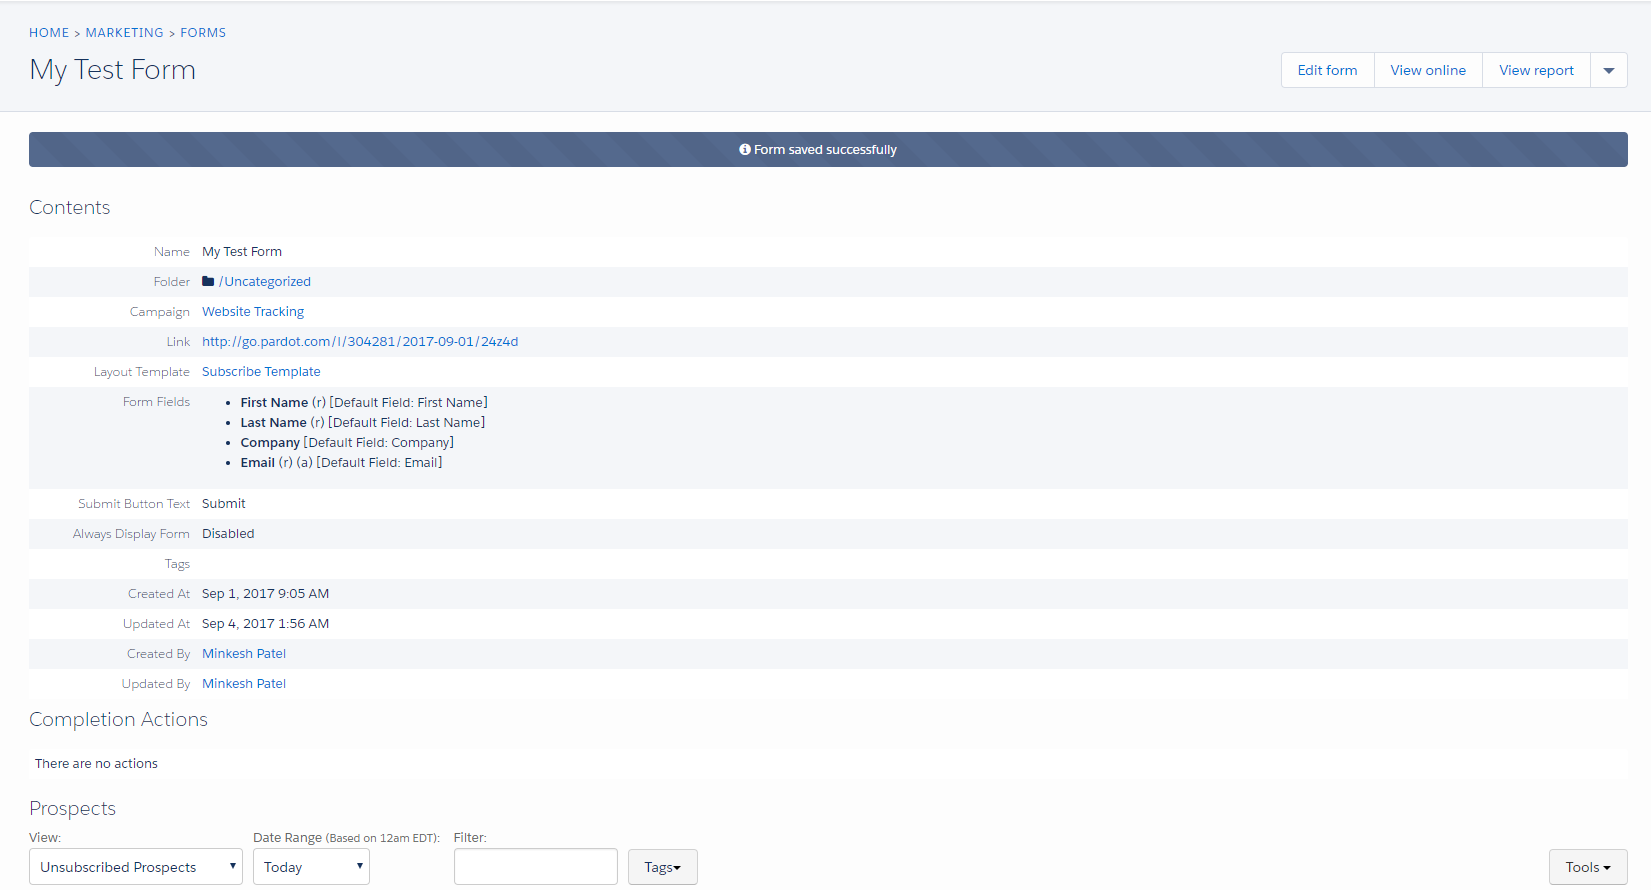
After you have saved your form, you will be redirected to a page like below:

To view what your form looks like, click on “View Online” button on top right corner of the page. It will look something like below:

As you can see, First Name, Last Name, and Email are required fields in order to submit the form successfully. The text written in Above text and Below text tabs while creating the form will appear on top and bottom of the page respectively.
After submitting the form, you will be redirected to the page showing thank you content similar to below:

Making the Form Live:
To make your form available online, there are two options.
- Click on drop down menu on top right corner of the page and select “View HTML Code”. Grab the code and paste it in your web page.

- Create a landing Page.


